

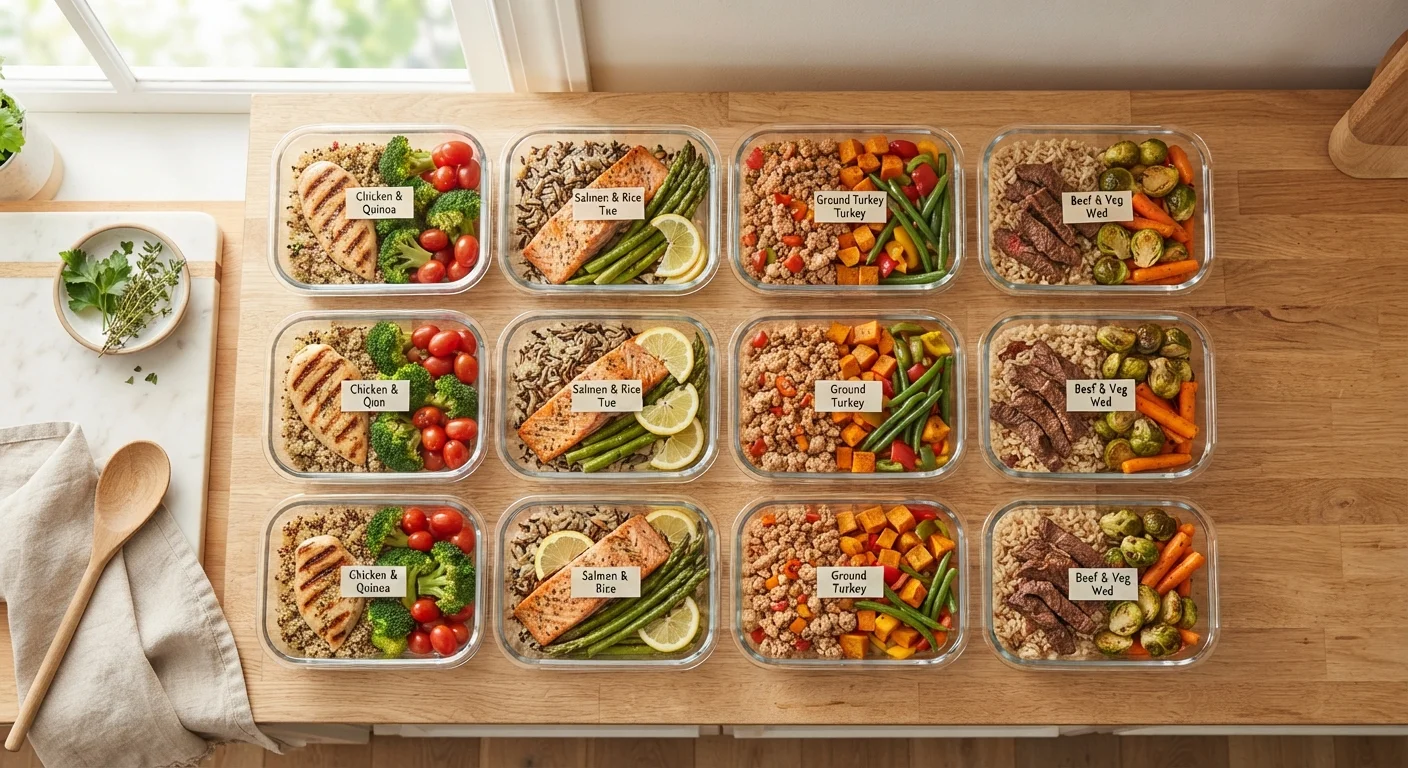
Key Takeaways
Why a Playbook Approach Makes Meal Prep Stick
Most meal prep attempts fail not because of willpower but because of missing structure. When you treat meal prep as a repeatable system — rather than a one-off effort — it becomes sustainable. Think of it as a weekly playbook: the same core steps each time, with the recipes swapped out for variety.
If you're new to the concept, our overview of what meal prep actually involves explains how it differs from simply cooking in bulk and why the distinction matters. The playbook below builds on those foundations with a stage-by-stage breakdown anyone can follow.
3–4 days
Safe refrigerator life for most cooked foods
According to USDA food safety guidelines for properly stored cooked meals.
~1 hour
Average time saved per week with structured meal prep
Estimates from meal planning research suggest consistent preppers spend significantly less time on weeknight cooking decisions.
30–40%
Reduction in food waste reported by regular meal preppers
Planning purchases around specific recipes helps reduce impulse buys and unused produce, according to food waste reduction studies.
Step 1: Choose Recipes That Actually Work Together
Recipe selection is the highest-leverage decision in your entire prep session. The goal isn't variety for its own sake — it's ingredient overlap. When your grain bowl, your salad, and your stir-fry all use the same roasted sweet potato or cooked quinoa, you make one batch and use it three ways.
- Pick one protein, one grain, and two to three vegetable preparations as your base components.
- Aim for at least one meal that works warm and cold — grain salads and frittatas are ideal.
- Limit yourself to three to four distinct meals per week when starting out. Ambitious variety leads to partial containers and food waste.
For building nutritionally balanced plates without obsessive tracking, a simple visual check — half vegetables, a quarter protein, a quarter starch — goes a long way.
Build your weekly menu around one anchor protein — a large batch of roasted chicken thighs, for example — and spin it into two or three different meals with different sauces and sides.
This approach dramatically reduces active cooking time while keeping meals feeling distinct throughout the week, a technique used widely in professional meal planning.
Finish grain cooking with the lid off for the last two minutes to release excess steam — this keeps rice, quinoa, and farro from turning mushy when stored.
Excess moisture is the primary reason prepped grains become clumped or gummy after refrigeration, a common texture complaint among new meal preppers.
Step 2: Build a Smart Shopping List
A disorganized shopping list adds 20 minutes to a grocery run and increases the chance you'll forget something. Organize yours by store section: produce, proteins, dairy, pantry staples, and frozen goods. This single habit alone makes the trip noticeably faster.
Check your pantry before writing the list. A well-organised pantry means you'll rarely buy duplicates of items you already have — olive oil, canned beans, and spices tend to accumulate when you don't look first.
- Write quantities precisely (e.g., "2 lbs chicken thighs" not just "chicken").
- Note which items are components shared across multiple recipes — buy accordingly.
- Add a small buffer for fresh produce; buy slightly more than you think you need to account for trimming and spoilage.
Step 3: Run an Efficient Cook Session
The biggest time savings in meal prep come from parallel cooking — running your oven, stovetop, and any countertop appliances simultaneously rather than sequentially. Before you touch a knife, read through all your recipes and map out a rough order of operations.
- Start with the longest-cooking items first — grains, roasted vegetables, and braised proteins go in the oven or on the back burner immediately.
- Use idle time actively — while something roasts, chop vegetables for the next dish or wash prep bowls.
- Batch knife work — dice all your onions at once, mince all your garlic at once. Switching tasks repeatedly adds up to significant wasted time.
If the idea of a long Sunday session feels daunting, breaking prep into two shorter sessions across the weekend is a proven alternative that many cooks find more sustainable.
Step 4: Portion, Store, and Label Correctly
How you store food is just as important as how you cook it. Containers that seal tightly, stack neatly, and are the right size for your portions make a genuine difference in whether meals actually get eaten.
Keep wet and dry components in separate containers whenever possible — dressings added to salads on Sunday make everything soggy by Tuesday. The same rule applies to sauces on grain bowls and toppings on soups.
Use Uniform Container Sizes When Possible
Containers that are all the same size stack more efficiently and make it easier to see at a glance how many meals you have left. This also simplifies portioning — fill each container to the same level for consistent serving sizes throughout the week.
Labeling is non-negotiable if you prep multiple meals. A strip of masking tape and a marker is all you need: write the contents and the date prepared. This prevents the guessing games that lead to food being thrown out unnecessarily.
For more on avoiding the mid-week slump where meals lose appeal, see why Sunday meal prep often fails by Wednesday — it covers the texture and flavor pitfalls that even experienced preppers overlook.
Keeping Food Safe and Fresh All Week
Food safety is the non-negotiable foundation of any meal prep system. The USDA advises that most cooked foods stored in the refrigerator remain safe for 3 to 4 days. Items you won't eat within that window should go into the freezer immediately after cooling — not on day three when you realize you won't get to them.
- Cool cooked food quickly: spread it in a shallow container rather than leaving it in a deep pot. Hot food left at room temperature for more than two hours enters the danger zone where bacteria multiply rapidly.
- Store raw proteins on the lowest refrigerator shelf to prevent cross-contamination with ready-to-eat foods.
- Fresh herbs, leafy greens, and cut fruit generally have shorter storage windows — prep those closer to when you plan to use them.
Building this awareness into your first meal prep sessions prevents the habit from feeling like a gamble and builds confidence that what you're eating is genuinely safe and fresh.