

Key Takeaways
Start here
What Meal Prep Actually Means
Next
Step 1: Plan Before You Shop
Then
Step 2: Shop Smart and Stay Focused
Core skill
Step 3: Cook Efficiently in One Session
Don't skip
Step 4: Store Food Safely
Wrap up
Common First-Timer Mistakes to Avoid
What Meal Prep Actually Means
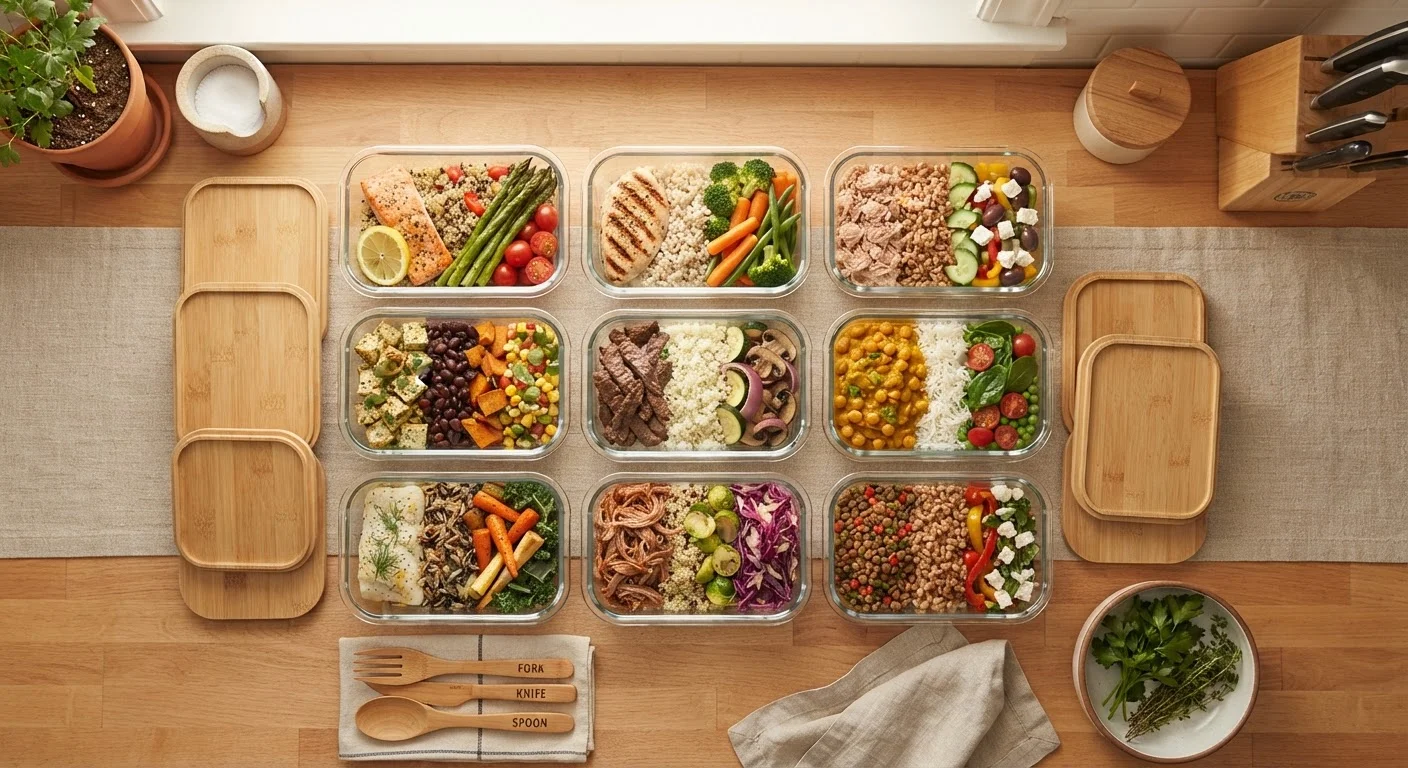
Meal prep is the practice of preparing food in advance — partially or fully — so that assembling meals during a busy week takes minutes rather than an hour. It doesn't mean cooking seven identical containers of the same dish. It can be as simple as washing and chopping vegetables on Sunday so they're ready to roast on Tuesday.
There are a few common formats worth knowing before you pick an approach:
- Full-meal prep: Complete dishes — like a pot of chili or a sheet-pan dinner — stored in individual portions.
- Component prep: Individual building blocks (cooked rice, roasted vegetables, grilled chicken) that you mix and match throughout the week. This approach, explored in detail in prepping components instead of full meals, tends to give beginners more flexibility.
- Partial prep: Washing, chopping, marinating, or measuring ingredients so that actual cooking is faster each night.
None of these is the "correct" method — the right one is the one that fits your schedule and cooking comfort level. If you're weighing whether meal prep is right for you at all, see the honest case for and against meal prepping before committing.
Meal prep
Preparing food partially or fully in advance so that eating well during a busy week requires minimal effort at mealtime.
Component cooking
Cooking separate elements — proteins, grains, vegetables — that can be combined in different ways throughout the week instead of making identical complete meals.
Parallel cooking
Running multiple cooking tasks simultaneously (e.g., boiling grains while roasting vegetables) to reduce total time in the kitchen.
Safe storage temperature
The FDA recommends refrigerators be kept at or below 40°F (4°C) to slow bacterial growth and keep cooked food safe to eat.
Partial prep
Completing only the time-consuming preparation steps — washing, chopping, marinating — so that actual cooking later in the week is faster.
Step 1: Plan Before You Shop
Planning is the highest-leverage step in the whole process. Skipping it is the most common reason first-timers end up with a fridge full of unrelated ingredients and nothing resembling a meal.
Start by deciding which meals you want to cover — just lunches, just dinners, or a mix. For your first session, aim for three to four meals. Then choose recipes that share ingredients; for example, a batch of roasted sweet potatoes can show up in a grain bowl on Monday and alongside eggs on Wednesday.
Write out a simple grocery list organized by store section (produce, proteins, pantry staples). This single habit cuts shopping time and prevents impulse purchases that don't fit your plan. A full week-by-week planning framework is covered in the weekly meal prep playbook.
Step 2: Shop Smart and Stay Focused
With your list in hand, shopping becomes straightforward. A few habits make it even more efficient:
- Buy proteins in bulk when you plan to use them within the same week — a larger pack of chicken thighs or ground turkey often costs less per pound and can cover multiple meals.
- Choose versatile produce: bell peppers, broccoli, spinach, and carrots all hold up well after cooking and pair with a wide range of flavor profiles.
- Stock pantry staples that add flavor without extra prep — olive oil, canned beans, low-sodium broth, and a few dried spices go a long way.
Stick to your list. Adding ingredients you don't have a plan for is how food waste happens.
Buy Versatile Ingredients That Do Double Duty
Look for ingredients that can serve multiple roles across your planned meals — for example, a batch of roasted chickpeas works as a salad topper, a grain bowl protein, and a standalone snack. Overlapping ingredients this way stretches your grocery budget and reduces prep time significantly.
Step 3: Cook Efficiently in One Session
Before you turn on a single burner, take five minutes to read through every recipe and organize your workflow. Good kitchen setup saves real time — see setting up your kitchen before a prep session for a pre-cook checklist.
The core principle of an efficient session is parallel cooking: get multiple things going at once. While a pot of brown rice simmers (about 40 minutes), you can roast a sheet pan of vegetables and prep your protein. A rough sequence for beginners:
- Start any long-cooking grains or legumes first.
- Preheat the oven and load your sheet pan with vegetables.
- Cook proteins on the stovetop while the oven handles the vegetables.
- While everything cooks, wash, chop, and portion any raw items that don't need heat.
If you want to keep your session under two hours, structuring a realistic prep session offers practical time-saving strategies beyond the basics here.
Step 4: Store Food Safely
How you store food directly affects both safety and quality. The U.S. Food and Drug Administration (FDA) recommends keeping your refrigerator at or below 40°F (4°C). Cooked food should be cooled to room temperature — generally within two hours of cooking — before sealing and refrigerating, to avoid raising the internal fridge temperature.
As a general guideline, most cooked proteins and grains stay safe in the refrigerator for three to four days; cooked vegetables typically last three to five days. For a detailed breakdown by food type, consult how long prepped food actually stays safe in the fridge.
Label each container with the date it was made. This removes the guesswork mid-week and helps you use older items first.
When in Doubt, Throw It Out
If stored food looks or smells off before the four-day mark, discard it — foodborne illness isn't always detectable by appearance or odor alone. The USDA's FoodKeeper resource is a reliable public reference for safe storage times across a wide range of foods. When in doubt, err on the side of caution.
Common First-Timer Mistakes to Avoid
Even with a solid plan, a few patterns trip up most beginners:
- Prepping too much variety at once. Cooking five different recipes in your first session is overwhelming. Start with two or three and expand as the routine becomes familiar.
- Choosing foods that don't reheat well. Delicate fish, pasta that's already sauced, and anything breaded tend to suffer in storage. Lean toward dishes designed to reheat — grain bowls, stews, roasted vegetables, and grilled or baked proteins.
- Skipping the label. Unlabeled containers lead to mystery meals and food waste. Thirty seconds with a marker prevents the problem entirely.
- Treating the first session as a high-stakes event. Your first prep will be imperfect, and that's expected. The goal is to learn your pace and preferences, not to execute flawlessly.
Meal prep is a skill that improves with practice. Each session teaches you something useful — what your household actually eats, which ingredients stay fresh longest, and how to sequence tasks more smoothly. The kitchen skills hub has additional resources for building confidence across every area of home cooking.