

Key Takeaways
Why Prep Determines Everything
Most people think a fresh coat of paint is about choosing the right color. In reality, how a paint job holds up — how smooth it looks, how long it lasts, and whether it peels within a year — is determined almost entirely by what happens before the roller comes out.
Paint is a finish coat. It doesn't hide problems; it reveals them. A crack filled with paint instead of compound will reappear within months. A greasy patch that wasn't cleaned will resist adhesion and cause the color to bubble or flake. The wall surface is the foundation, and a shaky foundation produces shaky results.
This is especially relevant if you've been putting off small repairs — painting over neglected surfaces compounds the underlying issue rather than fixing it.
Painting over dirty or greasy walls without cleaning them first.
Why it happens: The wall looks fine to the eye, so homeowners assume it's ready. Kitchen and bathroom walls in particular accumulate invisible oils and residue.
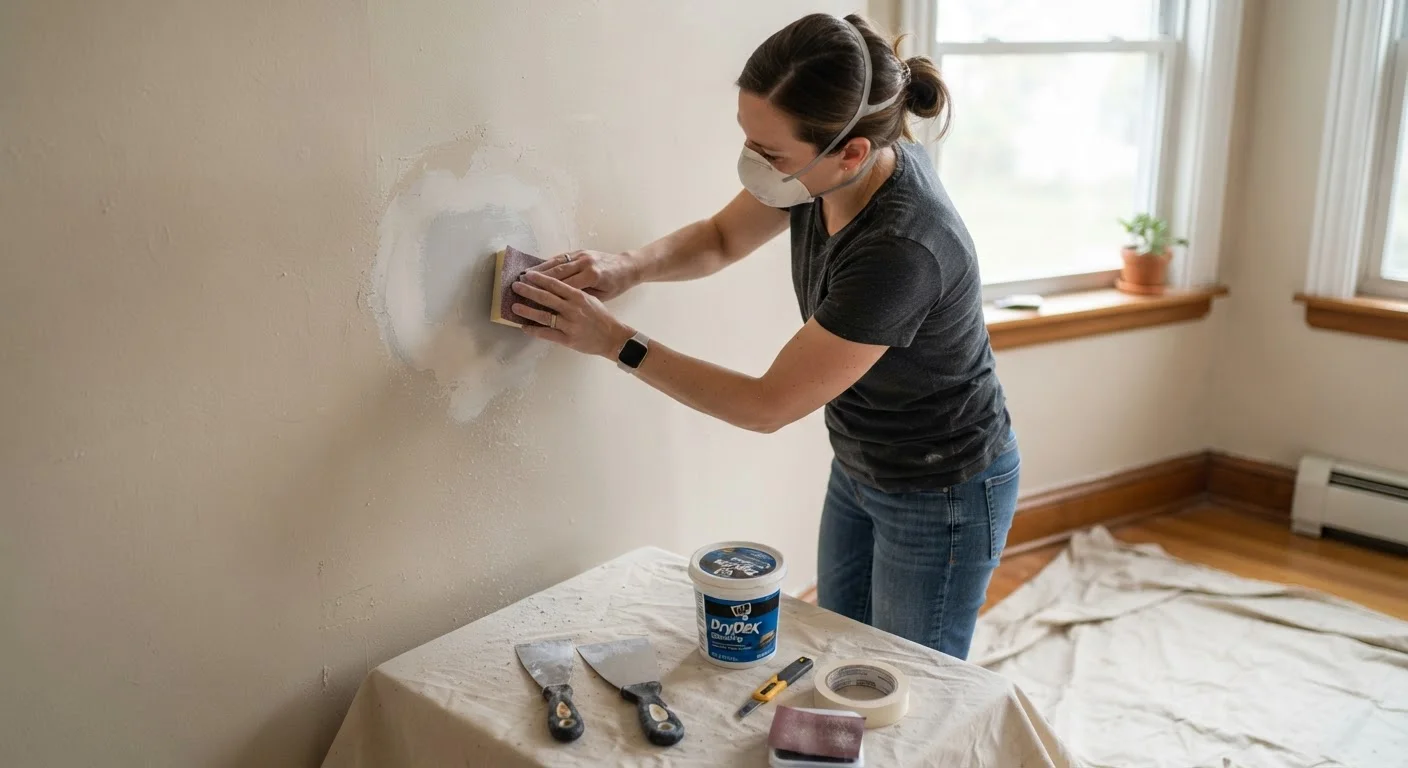
Skipping or rushing the patching step for small dents and holes.
Why it happens: Minor imperfections seem trivial — homeowners assume paint will fill them in. Under most lighting conditions, it doesn't.
Not using primer, or using the wrong type for the surface.
Why it happens: Many paint cans say "paint and primer in one," which leads homeowners to believe a separate primer step is unnecessary in all situations.
Sanding without cleaning up the dust afterward.
Why it happens: After sanding, the wall looks smooth and ready, so the next step feels like painting. But sanding dust sitting on the surface prevents good adhesion.
Painting over existing paint that is peeling, chalking, or poorly bonded.
Why it happens: Homeowners are tempted to paint over flaking areas rather than remove them, hoping the new coat will hold everything down.
Getting the Sequence Right
Even homeowners who know they should prep sometimes do the steps out of order, which undermines the whole effort. The correct sequence matters: clean first, repair second, prime third, paint last. Priming before patching means you'll need to re-prime the patched area anyway. Painting before the primer is fully dry traps moisture and invites peeling.
80%
Paint failures traced to surface prep
Industry painting professionals commonly estimate that the large majority of paint failures — peeling, bubbling, uneven coverage — stem from inadequate surface preparation rather than paint quality.
24–48 hrs
Typical cure time for spackling compound
Most lightweight spackling compounds require at least 24 hours to cure fully before sanding and priming, with thicker fills needing longer; always follow the manufacturer's guidance.
Before priming, allow all patched areas to cure fully — this usually means waiting at least 24 hours in normal humidity conditions, though compound manufacturers' instructions take precedence. Rushing this step is where impatience most often shows up in the final result.
If your walls have significant damage — deep cracks, water staining, or mold — it's worth consulting a professional before proceeding. Some conditions indicate a structural or moisture problem that paint won't solve. Our guide on what to ask before hiring a tradesperson can help if you reach that point.
Mold and Water Stains Need More Than Paint
If you notice dark staining, soft drywall, or a musty smell, do not simply prime and paint over it. These signs often indicate an active moisture problem. Painting over mold traps it beneath the surface and allows it to continue growing. Address the underlying moisture source first and, where mold coverage is significant, consult a qualified professional before proceeding.
For most standard interior walls in reasonable condition, though, thorough DIY prep is well within reach. Think of it the way a professional kitchen operates: everything is organized and ready before any cooking begins — the same principle applies here, as noted in the concept of mise en place. Preparation isn't the boring part. It's the part that makes everything else work.
One final note: common myths about paint — such as the idea that a thick coat covers imperfections — lead many homeowners to skip steps they shouldn't. A well-prepped wall with one careful coat will almost always outperform a poorly prepped wall with three.