

Key Takeaways
Why Mould Grows Indoors
Mould is a naturally occurring fungus that reproduces through microscopic spores floating in virtually every indoor and outdoor environment. The spores themselves are largely unavoidable — what determines whether they become a problem is whether your home gives them what they need to settle and grow: moisture, a surface to feed on, and reasonably warm temperatures.
The moisture source is almost always the key variable. It can come from condensation on cold surfaces, persistent high humidity, plumbing leaks, roof intrusions, or water that has worked its way in from outside. As detailed in our article on how gutters and downpipes connect to interior water damage, even external drainage failures can quietly push moisture into walls and ceilings over time.
Common organic surfaces that mould feeds on inside homes include drywall paper, wood framing, ceiling tiles, carpet backing, and even dust settled on painted surfaces. Once a colony establishes, it can spread within days under the right conditions.
Before assuming mould is the source of a musty smell, check that condensate drain lines on HVAC units are clear — a blocked line creates standing water that produces identical odors and can seed mould growth inside the air handler itself.
HVAC systems distribute air throughout the home, making an internal mould problem far more wide-reaching than a localized wall patch. Ruling this out early prevents a costly misdiagnosis.
When cleaning a small mould patch on a non-porous surface, work from the outer edges inward rather than scrubbing the center first — this technique limits how many spores you disturb and disperse into the surrounding air.
Scrubbing the center of a mould colony first agitates the densest concentration of spores, increasing the risk of dispersal. Edge-in cleaning is standard practice in professional remediation protocols.
Common Indoor Mould Hotspots
Understanding where mould is most likely to appear helps homeowners focus their inspections:
- Bathrooms: Steam from showers raises humidity rapidly. Grout lines, caulk around tubs, and the underside of bath mats are frequent starting points.
- Kitchens: Under-sink cabinets conceal slow drips; poor ventilation over cooktops lets steam condense on nearby walls.
- Basements and crawl spaces: Below-grade spaces are naturally cooler and prone to ground moisture migration. Any flooding history significantly raises risk.
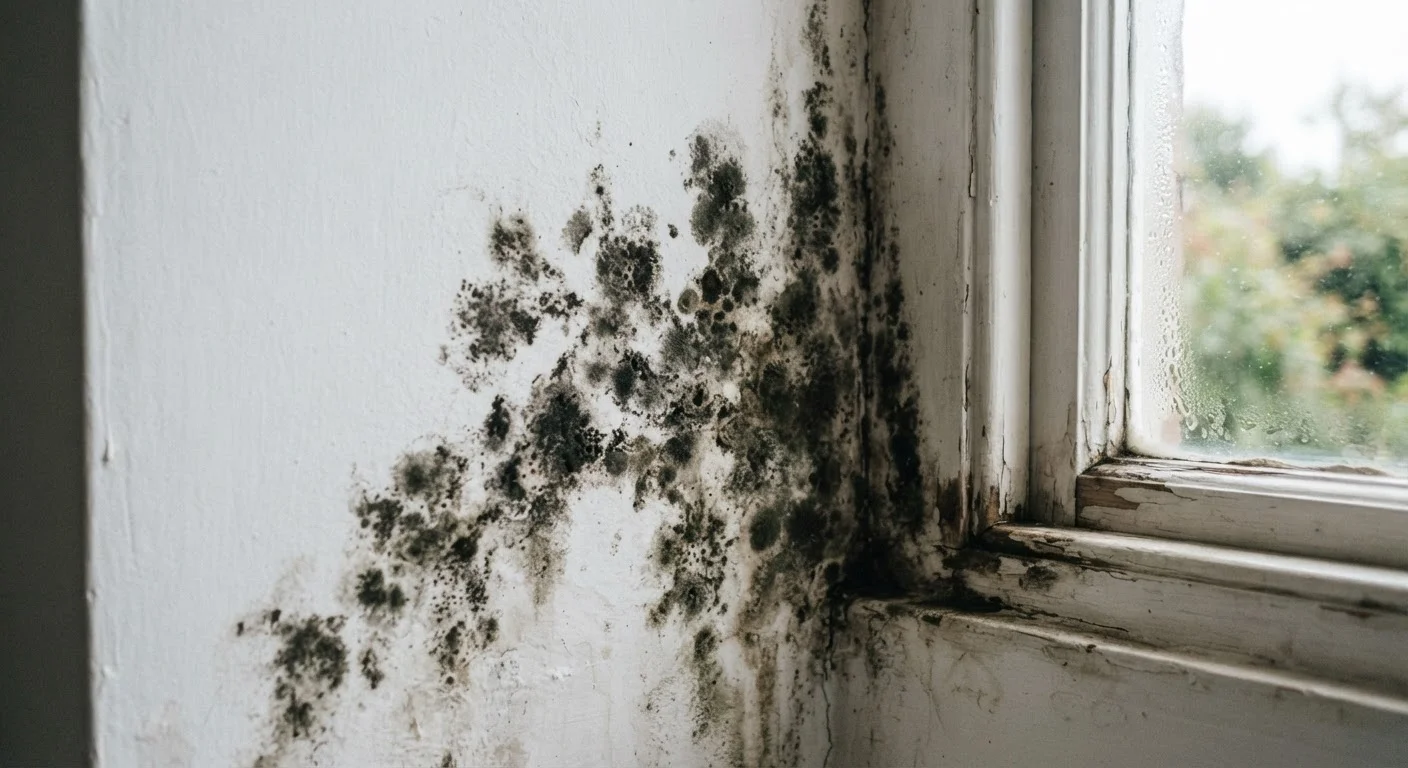
- Window frames and sills: Single-pane or poorly sealed windows generate condensation on cold days, creating a consistently damp microenvironment.
- Behind walls and under flooring: These hidden zones are the most difficult to detect. Signs include musty odors without a visible source, or wallpaper bubbling away from the surface.
It's worth noting that some common home maintenance misconceptions — such as assuming a coat of paint seals a moisture problem — can actually mask mould growth rather than address it. Our piece on common home maintenance myths covers several of these misunderstandings in detail.
~50%
US homes with dampness or mould issues
Research published in Indoor Air suggests roughly half of US homes have conditions — dampness, water damage, or visible mould — that put them at elevated risk.
10 sq ft
EPA threshold for DIY vs. professional remediation
The US Environmental Protection Agency uses 10 square feet of visible mould as a general guideline for when professional assessment should be considered.
24–48 hrs
Window for drying wet materials before mould establishes
Most mould species can begin colonizing damp organic materials within 24 to 48 hours of a water event, underscoring the importance of rapid drying.
Health Considerations
Mould exposure affects people differently depending on the species involved, the concentration of spores, the duration of exposure, and individual sensitivity. Some people experience no noticeable effects; others — particularly those with respiratory conditions, allergies, or compromised immune systems — may notice symptoms more readily.
Commonly reported effects associated with indoor mould exposure include nasal congestion, throat irritation, coughing, skin irritation, and eye discomfort. Individuals with asthma may find that mould triggers or worsens their symptoms.
This Is Not Medical Advice
The health information in this article is general and educational in nature. Mould-related health effects vary significantly between individuals and situations. If you or a household member is experiencing symptoms you believe may be connected to mould exposure, please consult a qualified healthcare professional. Do not delay seeking medical care based on information in this or any general-audience article.
This article provides general informational context about mould in the home and is not medical advice. If you or anyone in your household experiences health symptoms you suspect may be related to mould exposure, consult a qualified healthcare professional rather than self-diagnosing or self-treating.
Remediation Basics: What the Process Involves
Remediation — the process of safely removing mould and addressing its source — follows a broadly consistent sequence regardless of scale:
- Identify and fix the moisture source first. Removing mould without eliminating the moisture that caused it guarantees regrowth. Fix leaks, improve drainage, or address ventilation before touching the mould itself.
- Contain the affected area. For any work beyond wiping down a small non-porous surface, close off the area to limit spore dispersal. Plastic sheeting over doorways is a basic containment measure used by professionals.
- Use appropriate personal protection. At minimum, an N95 respirator, gloves, and eye protection. Goggles should seal to the face rather than being open-vented.
- Clean or remove affected materials. Non-porous surfaces (tile, glass, sealed metal) can often be cleaned with appropriate solutions. Porous materials — drywall, insulation, carpet — that are significantly infiltrated typically need to be removed and replaced, not just cleaned on the surface.
- Dry the area thoroughly. After cleaning, the area must be fully dried — ideally within 24 to 48 hours — to prevent recurrence. Fans, dehumidifiers, and open ventilation assist here.
- Dispose of contaminated materials safely. Bagged mould-contaminated debris should be sealed before transport to avoid spreading spores through the home.
When to Call a Professional
Not every mould situation is a safe DIY project. A useful rule of thumb from the US Environmental Protection Agency (EPA) is that mould covering more than about 10 square feet generally warrants professional assessment. Beyond that threshold, additional factors that call for expert involvement include:
- Mould suspected inside HVAC ductwork, which can distribute spores throughout the entire home
- Growth behind walls or under flooring that requires structural access
- Any situation where the moisture source has not been definitively identified
- Households with members who have respiratory conditions, immune suppression, or other relevant health vulnerabilities
Our guide to knowing where the DIY boundary is offers a broader framework for deciding when professional trades are the right call — mould remediation is one of several home tasks where that line matters considerably.
When engaging a remediation contractor, ask about their assessment process, whether they follow EPA or IICRC (Institute of Inspection, Cleaning and Restoration Certification) guidelines, and whether they provide a written scope of work before starting.
Preventing Mould from Returning
Once mould has been addressed, keeping it from returning comes down to sustained moisture management:
- Maintain indoor relative humidity between 30% and 60%. A basic hygrometer (humidity gauge) costs very little and gives you reliable readings year-round.
- Ventilate consistently. Run bathroom exhaust fans during and for at least 15–20 minutes after showers. Ensure kitchen range hoods vent to the exterior, not just recirculate air.
- Inspect regularly. Check under sinks, around window frames, and in basement corners at least seasonally. Early-stage growth is far easier and cheaper to address.
- Keep exterior drainage working correctly. Ensure roof gutters flow freely and downpipes direct water well away from foundation walls.
- Address condensation on windows. If condensation is persistent, consider whether improved glazing, weatherstripping, or interior humidity reduction is feasible.
Mould management is ultimately an ongoing maintenance discipline rather than a one-time fix. Building these checks into regular home care routines gives you the best chance of catching problems before they become significant.