

Key Takeaways
Why Spring Bed Prep Sets the Whole Season's Pace
The difference between a frustrating garden and a productive one is often decided before a single seed goes in. Compacted, depleted, or weed-overrun beds force plants to compete from the start, while a well-prepped plot gives roots the loose, nutrient-rich environment they need to establish quickly and perform all summer.
Spring prep doesn't require expensive equipment or hours of back-breaking labor. It's mostly a matter of doing the right things in the right order — clearing, testing, loosening, amending — and letting the soil tell you what it needs rather than assuming. Whether you're growing vegetables, herbs, or flowering perennials, the fundamentals are the same.
If you're working with limited outdoor space, it's worth knowing that these same principles apply to raised beds and even large containers. Our container gardening guide covers how to set up and maintain confined growing spaces effectively.
Match Your Timing to Your Climate Zone
Spring prep timing varies widely across the US. Gardeners in USDA Hardiness Zones 8–10 may begin in late February, while those in Zones 4–6 might wait until April or even early May. Check your last frost date and plan bed work for two to four weeks before your expected planting window.
What you will need
Tools and Materials You'll Need
You don't need a full shed of specialty equipment to prep a garden bed well. A modest set of quality basics — kept clean and sharp — outperforms a garage full of neglected tools. Review the list below before you start so nothing interrupts your workflow mid-task.
Garden fork or spade
Loosens and turns compacted soil without destroying its structure.
Hand trowel
Useful for smaller planting holes and mixing amendments into soil near the surface.
Bow rake
Levels soil, breaks up clumps, and removes surface debris after turning.
Garden hoe
Removes weeds and shapes rows or furrows for planting.
Soil test kit or mailer
Measures pH and nutrient levels so you can amend soil accurately rather than guessing.
Sharpening file or whetstone
Restores a clean edge to spades and hoes, making digging significantly easier.
Wheelbarrow or garden cart
Moves compost, mulch, and debris efficiently across the yard.
Step-by-Step: Prepping Your Garden Beds
Follow these steps in order for the best results. Each one builds on the last, so skipping ahead — especially past the soil test — can mean wasted effort and amendments later.
Don't Work Wet or Frozen Soil
Digging, tilling, or even walking on soil that is still saturated from winter snowmelt or rain compacts its structure, destroying the air pockets that roots and beneficial organisms depend on. Do the squeeze test: grab a handful of soil and squeeze it. If it crumbles apart when you open your hand, it's ready. If it stays in a tight, muddy ball, wait a few more days before working it.
Clear the Beds of Debris and Old Plant Material
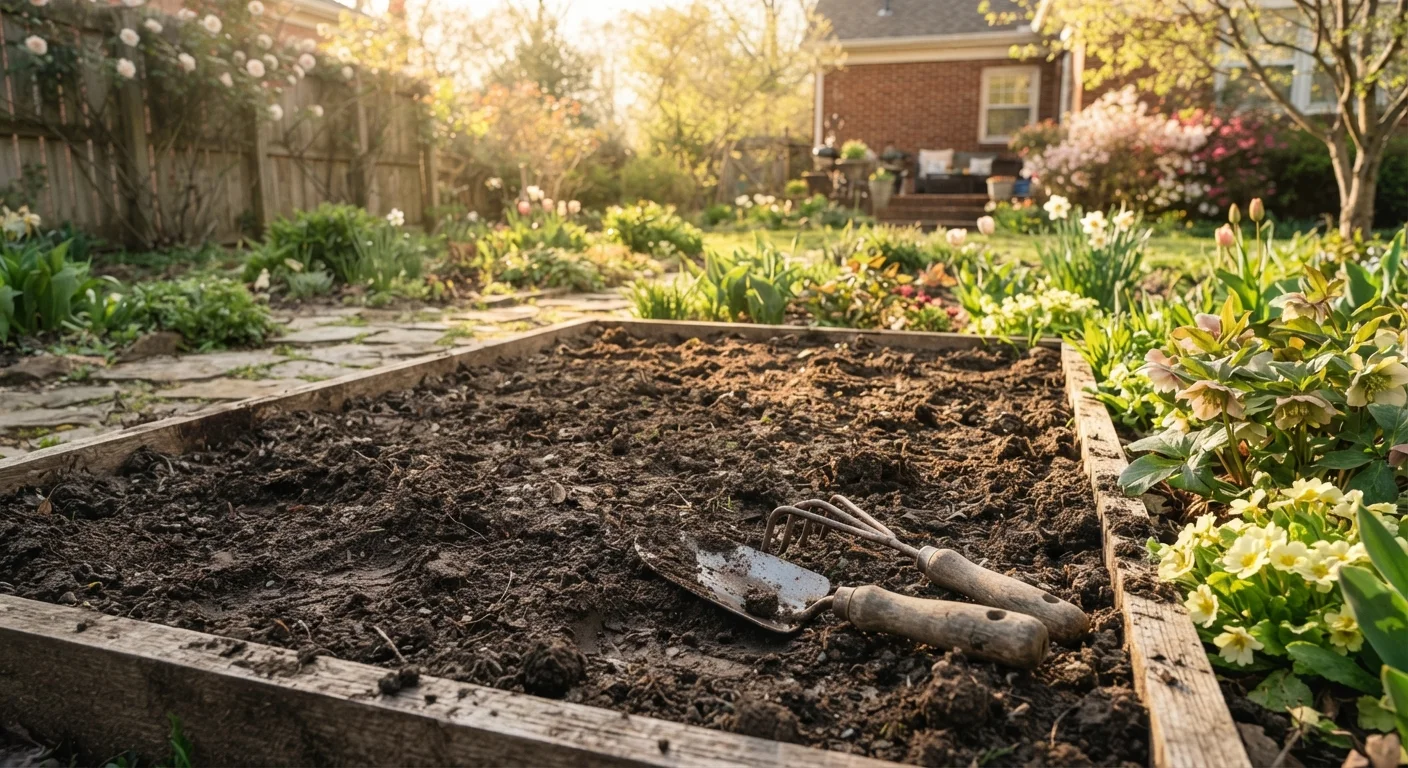
Start by removing anything left over from last season: dead annuals, spent vegetable stalks, fallen leaves, and any straw or protective mulch you laid down before winter. Bag or compost plant material that looks healthy. Diseased plants — those that showed signs of blight, rot, or fungal damage — should go in the trash rather than the compost pile to prevent problems from returning.
Pull any weeds you can see now. Early spring is one of the best times to catch them before they set seed or develop deep root systems. A hand trowel works well for taprooted weeds like dandelions.
Inspect, Clean, and Sharpen Your Tools
Before putting your tools to hard use, take 15–20 minutes to get them in working order. Use a stiff brush or steel wool to scrub dirt and surface rust from metal blades. Wipe down wooden handles and apply a thin coat of linseed oil if they feel dry or cracked. Sharp tools cut through soil and roots cleanly and take far less effort — use a metal file to restore the bevel on spades and hoes, working at the angle of the existing edge.
Check for loose or wobbly connections between handles and heads, and tighten or replace any hardware before relying on the tool for heavy work.
Test Your Soil Before Adding Anything
A soil test tells you the actual pH and nutrient levels in your beds, so you can make targeted amendments rather than guessing. Most US cooperative extension offices offer inexpensive soil testing by mail — results typically include specific recommendations for your intended crops. At-home test kits give a reasonable ballpark for pH and basic nutrients if you want faster feedback.
Knowing whether your soil is acidic or alkaline, and whether it's deficient in nitrogen, phosphorus, or potassium, prevents you from over-applying amendments that can do more harm than good.
Loosen and Aerate the Soil
Once the soil passes the squeeze test (see the important callout above), use a garden fork or spade to work the top 8–12 inches of each bed. Drive the fork straight down, rock it slightly to break up compaction, and move across the bed in rows. You're not trying to pulverize the soil — just open it up so air, water, and roots can move through easily.
Avoid repeated rototilling, which can break down soil structure over time. A garden fork disturbs less of the microbial ecosystem living in the soil.
Amend the Soil Based on Your Test Results
With loosened beds and a test result in hand, add only what your soil actually needs. The most universally useful amendment is finished compost — spread 2–3 inches across the surface and work it into the top 6 inches with a fork or rake. Compost improves drainage in clay soils, helps sandy soils hold moisture, and feeds the biological life that makes nutrients available to plants.
If your test shows a specific deficiency or pH imbalance, follow the extension office's recommendations for application rates. More is rarely better with soil amendments.
Rake Smooth and Apply a Layer of Mulch
After amending, use a bow rake to level the bed surface, breaking up large clumps and creating an even planting area. Then apply 2–3 inches of mulch — straw, shredded leaves, or wood chips work well — across the bare soil, keeping it a few inches back from where seedlings will emerge. Mulch at this stage slows early weed germination and conserves soil moisture as temperatures begin to climb. See our guide to mulching timing and depth for more detail on material choices and application methods.
What Comes Next After Prep
With beds cleared, soil loosened and amended, and tools in good shape, your garden is ready for planting. A few additional habits will help protect your early investment throughout the season.
Stay ahead of pest pressure by learning what to look for early. Our overview of natural pest control approaches covers companion planting, barriers, and other non-chemical strategies that work well when started at the beginning of the season rather than as a reaction to damage. And for general upkeep beyond the garden, the Home Maintenance hub offers practical guidance for keeping the rest of your property in good shape year-round.
Gardening rewards consistency more than intensity. A bit of organized effort now — much like setting up a kitchen before a big prep session — makes every subsequent task easier and more satisfying.