

Key Takeaways
Why Composting Is Worth the Effort
Compost is often called garden gold for good reason. When worked into soil, it improves drainage in clay-heavy ground, helps sandy soil hold moisture, and feeds plants with a slow, steady release of nutrients. Unlike synthetic fertilizers, compost supports the broader ecosystem of beneficial microbes, fungi, and invertebrates that keep soil healthy over time.
Beyond garden benefits, home composting diverts a significant portion of household waste from landfills. Organic material in landfills breaks down without oxygen, producing methane — a potent greenhouse gas. Composting at home redirects that material into something genuinely useful.
If you're starting a vegetable garden from scratch, building a compost habit early means you'll have a steady supply of free, high-quality soil amendment by planting season. You can also pair compost with effective mulching practices for even better soil health results.
Compost bin or container
Holds materials in place, retains some heat and moisture, and discourages pests.
Garden fork or pitchfork
Used to turn and aerate the compost pile to speed up decomposition.
Small kitchen collection bin with lid
Collects daily food scraps on the counter before transferring them to the outdoor pile.
Moisture meter or spray bottle
Helps monitor and adjust the moisture level inside the compost pile.
What to Compost — and What to Leave Out
The widest range of kitchen and yard materials can go into your pile. Good green materials include fruit and vegetable peels, coffee grounds and paper filters, tea bags (remove staples), fresh plant trimmings, and eggshells. Solid brown materials include dry leaves, cardboard, paper egg cartons, untreated wood chips, and plain newspaper.
Some materials need extra caution or should be avoided altogether in a basic backyard pile:
- Avoid: Meat, fish, bones, dairy, and oily or cooked foods
- Avoid: Pet or human waste
- Use sparingly: Citrus peels and onions in large amounts can slow decomposition
- Avoid: Diseased or pest-infested plants
- Avoid: Plants treated with persistent herbicides
Keep These Out of Your Compost
Never add meat, fish, bones, dairy products, or greasy foods to a backyard compost pile. These attract pests and create odor problems. Pet waste and diseased plant material should also be excluded, as they can introduce harmful pathogens into finished compost you plan to use in a food garden.
Following these guidelines keeps your pile working efficiently and your finished compost safe to apply in a container garden or raised bed.
Step-by-Step: Building Your Compost System
Setting up a functional compost system takes less than an hour and requires no specialized tools. Work through these steps at your own pace — composting is forgiving, and small adjustments along the way are completely normal.
What you will need
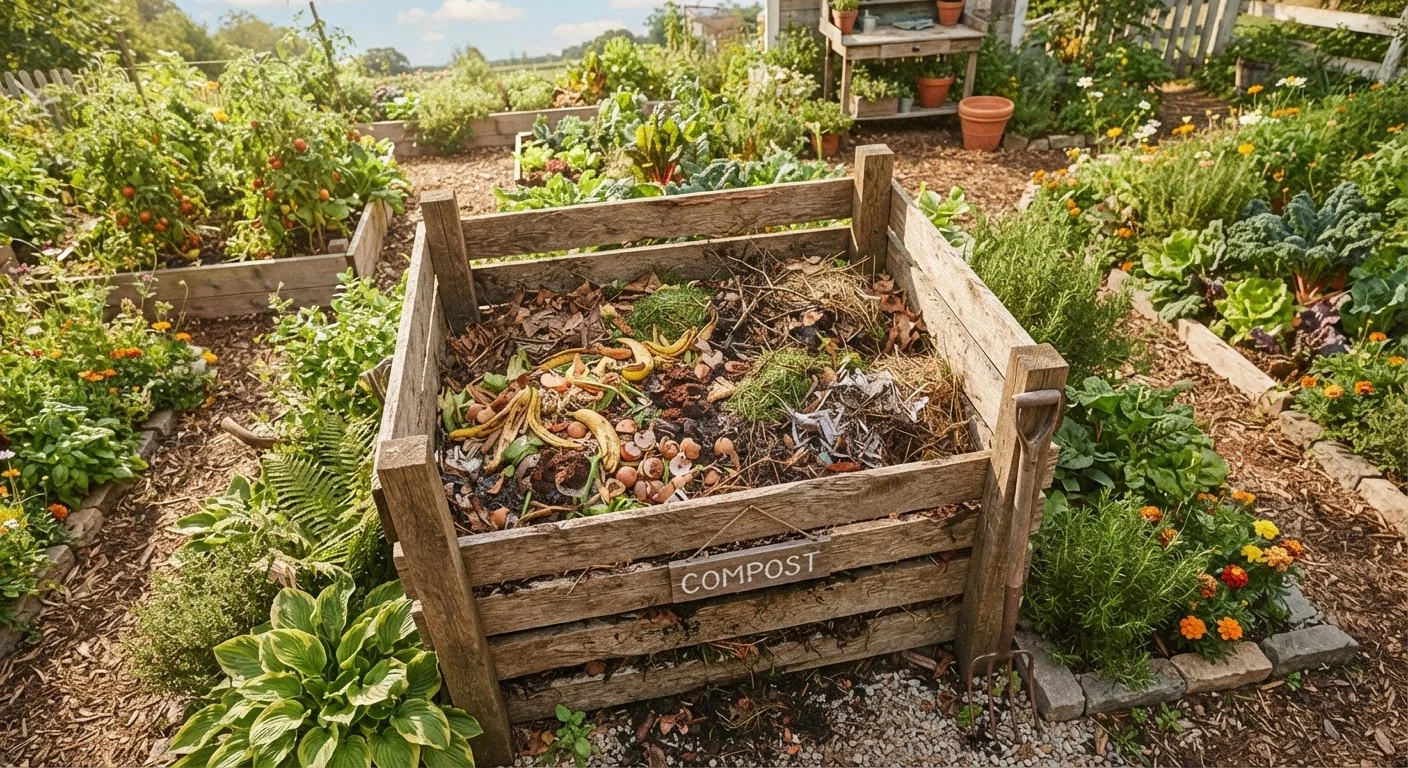
Choose and set up your compost bin
Select a spot that gets partial sun and has good drainage — direct, intense sunlight can dry the pile out too quickly, while full shade slows the process. A level area with soil contact underneath is ideal, as it allows earthworms to enter from below.
You can use a purchased plastic bin, a simple wooden pallet enclosure, or even an open pile if local regulations permit. Aim for a volume of at least one cubic yard (3×3×3 feet) — this minimum mass helps the pile generate and retain the heat needed for efficient decomposition.
Gather your green and brown materials
Effective composting depends on balancing two types of material. Greens are nitrogen-rich: fruit and vegetable scraps, coffee grounds, tea bags, fresh grass clippings, and plant trimmings. Browns are carbon-rich: dry leaves, cardboard torn into small pieces, newspaper, straw, and paper bags.
A general guideline is to aim for roughly two to three parts browns for every one part greens by volume. Too many greens and the pile becomes slimy and smelly; too many browns and it dries out and stops decomposing.
Layer materials and start your pile
Begin with a 3- to 4-inch layer of coarse brown material like twigs or straw at the base. This supports airflow from underneath. Add a layer of greens on top, followed by another layer of browns. Continue alternating layers as you add new material.
Lightly water each layer as you build if the materials feel dry. The pile should feel about as moist as a wrung-out sponge — damp but not dripping.
Maintain moisture and turn the pile regularly
Decomposition requires moisture and oxygen. Check the pile every week or two — if it feels dry, add water gradually while turning. If it smells bad, it may be too wet or have too many greens; add more browns and turn it to introduce air.
Turning the pile with a garden fork every one to two weeks redistributes heat and speeds up the process. The interior of an active pile can reach 130–160°F, which helps break down materials and suppress weed seeds.
Recognize when compost is ready to use
Finished compost looks dark brown, crumbles easily, and smells like rich earth — not like rotting food. Most of the original materials should no longer be recognizable. The pile will also shrink significantly from its original volume, often by 50% or more.
If some materials haven't broken down fully, sift the compost and return the larger chunks to the bin for another cycle. Finished compost can be worked into garden beds, used as a top dressing around plants, or mixed into potting soil for containers.
Speed Up Decomposition Naturally
Chopping or shredding materials into smaller pieces before adding them significantly speeds up the composting process. A simple garden fork used to turn the pile every one to two weeks introduces oxygen, which active microbes need to work efficiently.
Incorporating composting into your monthly yard routine makes it easier to keep the pile active without it feeling like extra work.