

Key Takeaways
Why Mulching Is Worth the Effort
A thin layer of material spread across bare soil might not look dramatic, but mulch is one of the most effective tools in a gardener's routine. It slows evaporation so soil stays moist longer between waterings, blocks sunlight that weed seeds need to germinate, and insulates plant roots against temperature swings — both the heat of summer and the freeze cycles of fall and winter.
Organic mulches — materials derived from plant matter — go further still. As they break down, they add organic matter to the soil, feeding beneficial microbes and gradually improving texture. Understanding your soil's baseline can help you choose the right mulch; see our guide on understanding soil types for more context. Used consistently, mulch reduces the time you spend weeding, watering, and worrying about plant stress.
When to Mulch: Timing Matters
The two most productive windows for mulching are spring and fall. In spring, apply mulch after the soil has warmed slightly but before the peak growing season — mulching over cold, wet soil can delay warming and slow root activity. Late spring, once temperatures are reliably mild, is generally ideal for most regions.
Fall mulching serves a different purpose: it protects plant roots and soil structure from freeze-thaw cycles that can heave plants out of the ground. Apply it after the first frost has settled but before the ground freezes hard.
Mid-summer top-ups are also worthwhile if your mulch layer has thinned. Mulch breaks down, compacts, and gets displaced by rain and foot traffic, so checking depth periodically keeps its benefits intact. Mulching fits naturally into a seasonal maintenance rhythm — our month-by-month garden task guide can help you plan when to add it to your schedule.
Don't Mulch Over Dry Soil
Before laying down mulch, water the area thoroughly if the soil is dry. Mulch locks in whatever moisture is present beneath it, so starting with dry soil just seals in a deficit. A good watering the day before mulching sets you up for much better results.
Getting Depth Right
Depth is where many gardeners go wrong in both directions. Too little — under an inch — and mulch provides minimal weed suppression or moisture retention. Too much — over four inches — and you risk waterlogging soil, encouraging surface rooting, and creating conditions where disease and pests thrive.
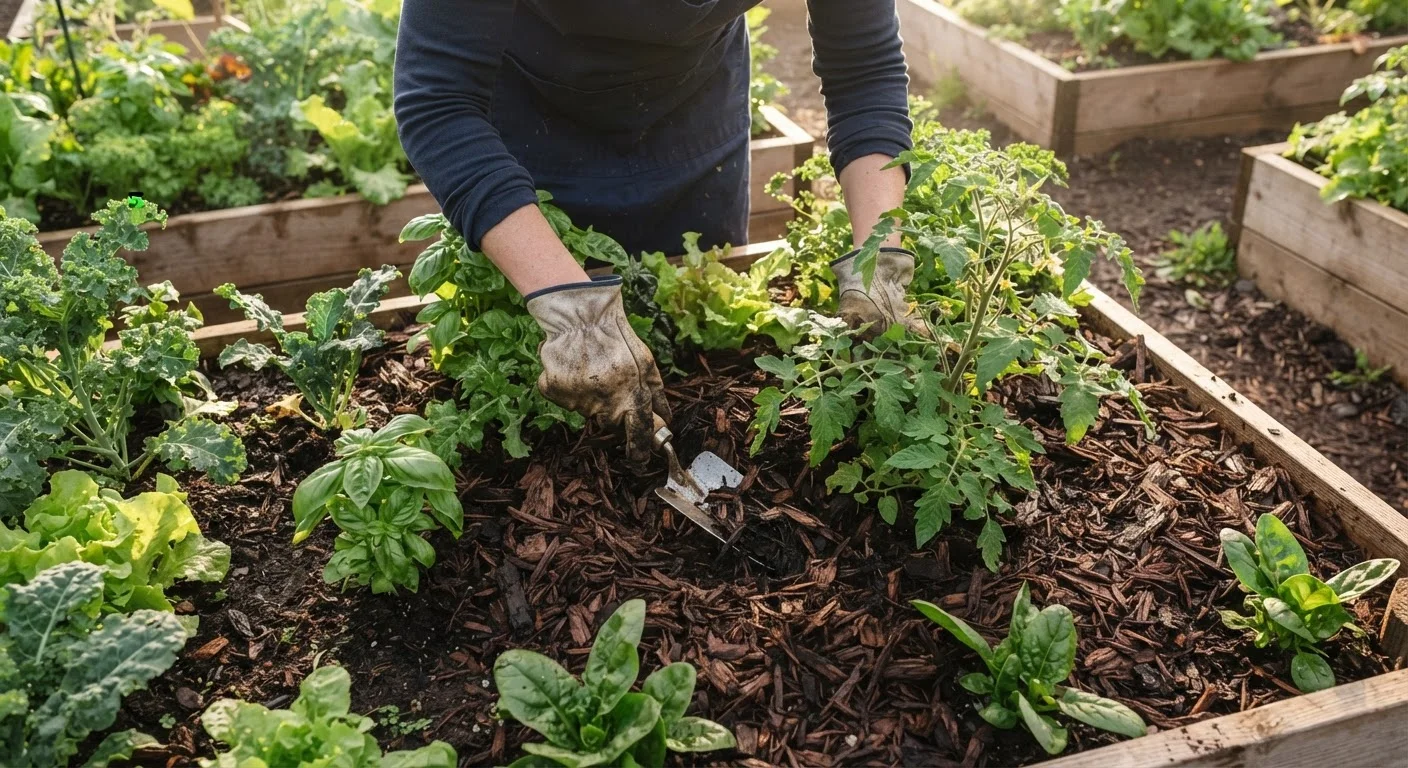
A general target of 2–3 inches works well for most garden beds and around trees. Coarser materials like wood chips can go toward the higher end of that range; finer materials like compost or grass clippings work best at 1–2 inches because they compact more readily.
The most important rule: keep mulch away from direct contact with plant stems and tree trunks. Leave a gap of at least 2–3 inches around stems and 4–6 inches around tree bases. Mulch piled against bark traps moisture, which can cause rot and create entry points for pests.
Volcano Mulching: A Common Mistake to Avoid
"Volcano mulching" — piling mulch in a cone shape against a tree trunk — is one of the most widespread mulching errors and can seriously harm trees over time. It traps moisture against bark, promotes fungal disease, and encourages roots to circle the trunk. Always keep mulch flat and pulled away from the base of any tree or shrub.
Choosing the Right Material
Not all mulch is the same, and the right choice depends on what you're growing and what you're trying to achieve.
Use shredded bark or wood chips around trees and shrubs
Coarse wood-based mulches are long-lasting, slow to compact, and particularly effective at suppressing weeds around permanent plantings. They break down slowly, so they need refreshing less often than finer materials.
Apply straw mulch in vegetable gardens
Straw is lightweight, easy to apply, and allows water to pass through readily — making it ideal for food gardens where you're working the soil frequently. It also breaks down by season's end and can be turned in.
Use grass clippings sparingly as a thin mulch layer
Fresh clippings are free and high in nitrogen, but they mat quickly and can block water penetration if applied too thickly. Used in thin layers they break down fast and feed the soil.
Apply finished compost as a dual-purpose mulch
Finished compost does everything mulch should do — retains moisture, suppresses weeds — while also feeding soil biology and slowly releasing nutrients. It's especially well suited to vegetable and perennial beds.
Use gravel or stone mulch in dry-climate or drainage-heavy areas
Inorganic mulches like pea gravel or crushed stone don't decompose, making them low-maintenance choices for pathways, xeriscape plantings, or spots prone to erosion. They won't improve soil, but they manage moisture loss and suppress weeds effectively.
Whichever material you choose, avoid dyed or treated wood products unless you're confident the coloring agents are inert — natural, untreated options are safer around edibles and soil organisms. If you're already composting at home, finished compost makes an excellent mulch layer that does double duty; see our guide to composting kitchen scraps for a practical starting point.
Quick Wins to Start Today
Mulching doesn't require a full garden overhaul. A few targeted actions will deliver noticeable results within a single season.