

Key Takeaways
Why Fluid Checks Matter
Your car relies on a handful of fluids to lubricate, cool, and pressurize the systems that keep it moving safely. When any one of them runs low or degrades, it can quietly accelerate wear — or trigger an expensive failure. The good news: checking them yourself is genuinely straightforward, costs nothing, and takes less time than a coffee stop.
Make fluid checks a regular habit — monthly is a reasonable target for most drivers — and especially before any long drive. Our pre-road-trip checklist covers this alongside tyres, lights, and other essentials.
If a dashboard warning light is already on, checking the relevant fluid is a smart first step — though it's not always the whole answer. See Your Car's Warning Lights, Decoded to understand what each symbol means before you pop the hood.
What You'll Need
Before you start, gather a few simple items.
What you will need
Owner's Manual
Identifies the location of each reservoir, correct fluid type, and fill range for your specific vehicle.
Clean Rag or Paper Towels
Used to wipe dipsticks and reservoir caps clean before and after checking fluid levels.
Small Flashlight
Helps you see fluid levels clearly inside reservoirs in a dim engine bay.
Nitrile Gloves
Protects your hands from brake fluid and coolant, both of which can irritate skin.
Step-by-Step: Checking Each Fluid
Work through each fluid in order. Always start with a cold or fully cooled engine — several of these checks are inaccurate (and one is dangerous) when the engine is hot.
Check Engine Oil
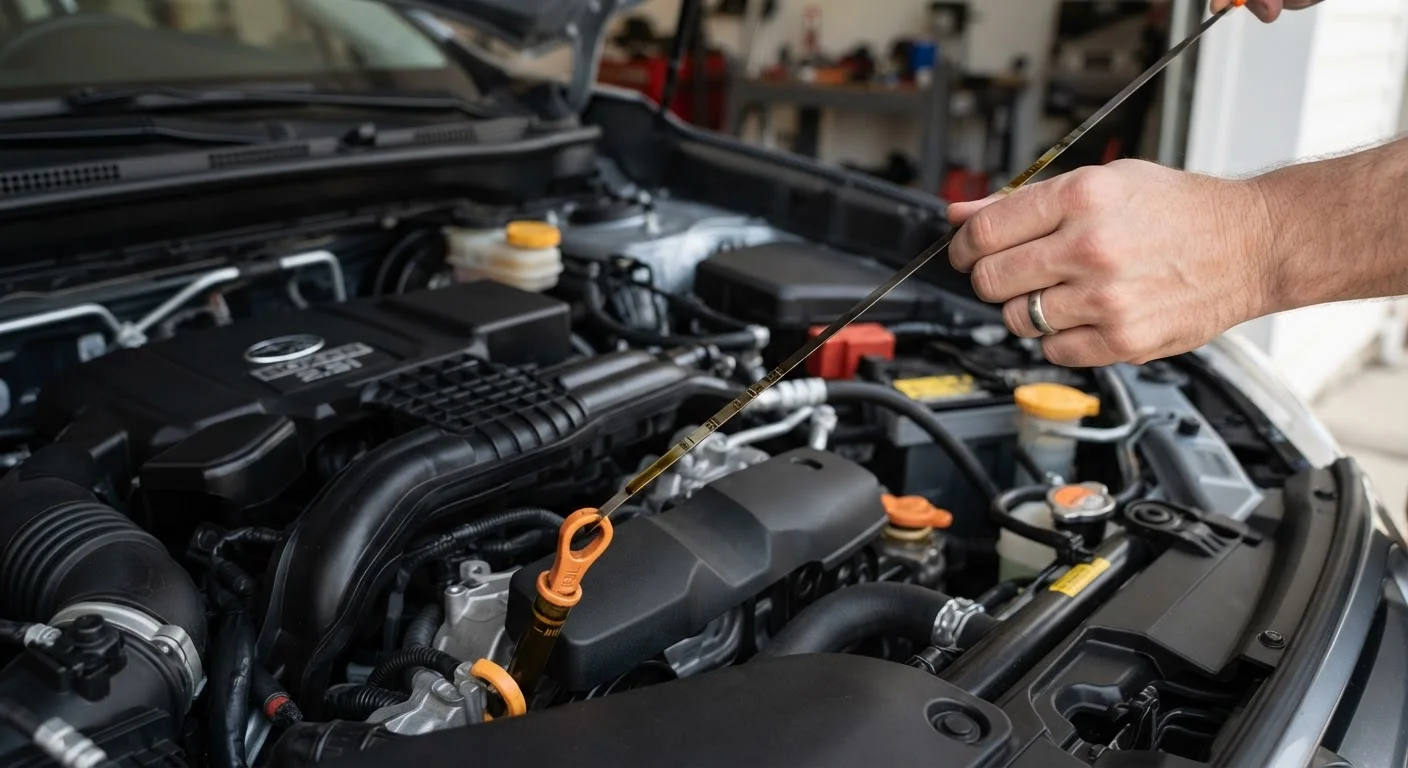
Locate the oil dipstick — typically a brightly colored ring or handle near the center of the engine. Pull it out, wipe it clean with your rag, reinsert it fully, then pull it out again. The oil film should sit between the two marks (often labeled MIN and MAX, or with crosshatching). Note the color: healthy oil is amber; very dark or gritty oil is overdue for a change.
Check Coolant (Antifreeze)
Find the coolant reservoir — a translucent plastic tank, usually bright green, orange, or blue liquid inside. Do not open the radiator cap directly; the reservoir is your check point. Look at the markings on the outside of the tank. The level should fall between the MIN and MAX lines. Note the color — it should be bright, not brown or murky.
Check Brake Fluid
The brake fluid reservoir is a small, usually semi-transparent container near the back of the engine bay on the driver's side — attached to the brake master cylinder. Without removing the cap, check the level against the MIN/MAX markings on the outside. The fluid should appear pale yellow to light brown.
Check Transmission Fluid
Many automatic transmissions have a dipstick similar to the oil dipstick — check your owner's manual for its location, as it varies by model. Some newer vehicles have sealed transmissions with no dipstick; in those cases, this check requires a professional. If a dipstick is present, the procedure mirrors engine oil: wipe, reinsert, check. The fluid should be pink to red and have no burnt smell.
Check Power Steering Fluid
If your vehicle has traditional hydraulic power steering (not electric), there will be a small reservoir — often with a steering wheel icon on the cap. Many reservoirs are translucent, so you can read the level without opening them. If you need to remove the cap, there's usually a short dipstick attached. Level should be at or near the MAX line.
Check Windshield Washer Fluid
The washer fluid reservoir is clearly marked with a windshield-and-water symbol on the cap. While it doesn't affect mechanical performance, running dry at the wrong moment is a safety issue. Top it up with premixed washer fluid — plain water can freeze in winter and leaves mineral deposits on your windshield.
Reading the Results and Knowing When to Act
After working through the steps, you should have a clear picture of where each fluid stands. Here's how to interpret what you find:
- Oil: Between the min and max marks, amber colored — good. Black and gritty — due for a change. Below minimum — top up and monitor.
- Coolant: Between the marks, bright colored — good. Brown or oily — have it inspected; it may be contaminated.
- Brake fluid: Between the marks, pale yellow — good. Dark brown — aging fluid that may need a flush. Any unexpected drop — see a mechanic promptly.
- Transmission fluid: Pink or red and clean — good. Dark or burnt-smelling — schedule a service.
- Power steering fluid: At or near max — good. Discolored or foamy — have it inspected.
When Low Fluid Means See a Mechanic
Fluids don't disappear on their own — if a level is significantly lower than last time, there's usually a reason. Low brake fluid can indicate worn brake pads or a leak in the system; low coolant may point to a leak or a head gasket issue. Topping up without investigating the cause can mask a problem that gets worse. If you find a fluid unexpectedly low, or see signs of leaks under the car, get a professional inspection.
Fluid checks pair well with a broader seasonal maintenance routine. Our guide to seasonal car maintenance walks through what else to inspect as the weather changes. And for a full picture of what a professional service covers, see Servicing Your Car: What Actually Happens and Why It Matters.