

Key Takeaways
Why Sequencing Makes or Breaks a Prep Session
The difference between a chaotic two-hour kitchen session and a smooth, productive one usually comes down to order of operations. When you start every task at the same time, you end up with everything finishing at once — and nothing to do for the first 40 minutes. When you sequence by cook time, the oven and stovetop work in parallel while your hands stay busy with lower-effort prep.
Think of your kitchen like a small production line. The oven handles passive, long-duration tasks. The stovetop covers medium-duration active tasks. Your cutting board manages everything that requires no heat at all. Running all three simultaneously is the core mechanic that turns a three-hour ordeal into a focused 90-minute session.
Use Overlapping Ingredients Strategically
Choose recipes that share at least two or three base ingredients — for example, roasted sweet potato works in a grain bowl, a burrito wrap, and a simple side. This cross-utilization cuts your shopping list, reduces prep repetition, and gives meals enough variety to feel different each day.
Before you begin your session, it helps to have your kitchen set up properly. The kitchen setup checklist walks through exactly what to confirm before you start cooking, from equipment placement to pantry checks.
What to Prep and What to Leave Whole
Not everything benefits from being prepped in advance. Delicate proteins like fish are best cooked fresh within a day or two. Avocados, cut apples, and other oxidation-prone produce should be prepped the morning you plan to eat them. Build your session around foods that genuinely hold well: roasted root vegetables, cooked grains, legumes, hard-boiled eggs, washed greens, raw carrot sticks, and braised or baked proteins.
Don't Store Assembled Meals With Wet Dressings
Storing salads or grain bowls with dressing already mixed in leads to soggy textures and faster spoilage. Keep sauces, dressings, and vinaigrettes in separate small containers and add them just before eating. This simple separation extends palatability from two days to the full five.
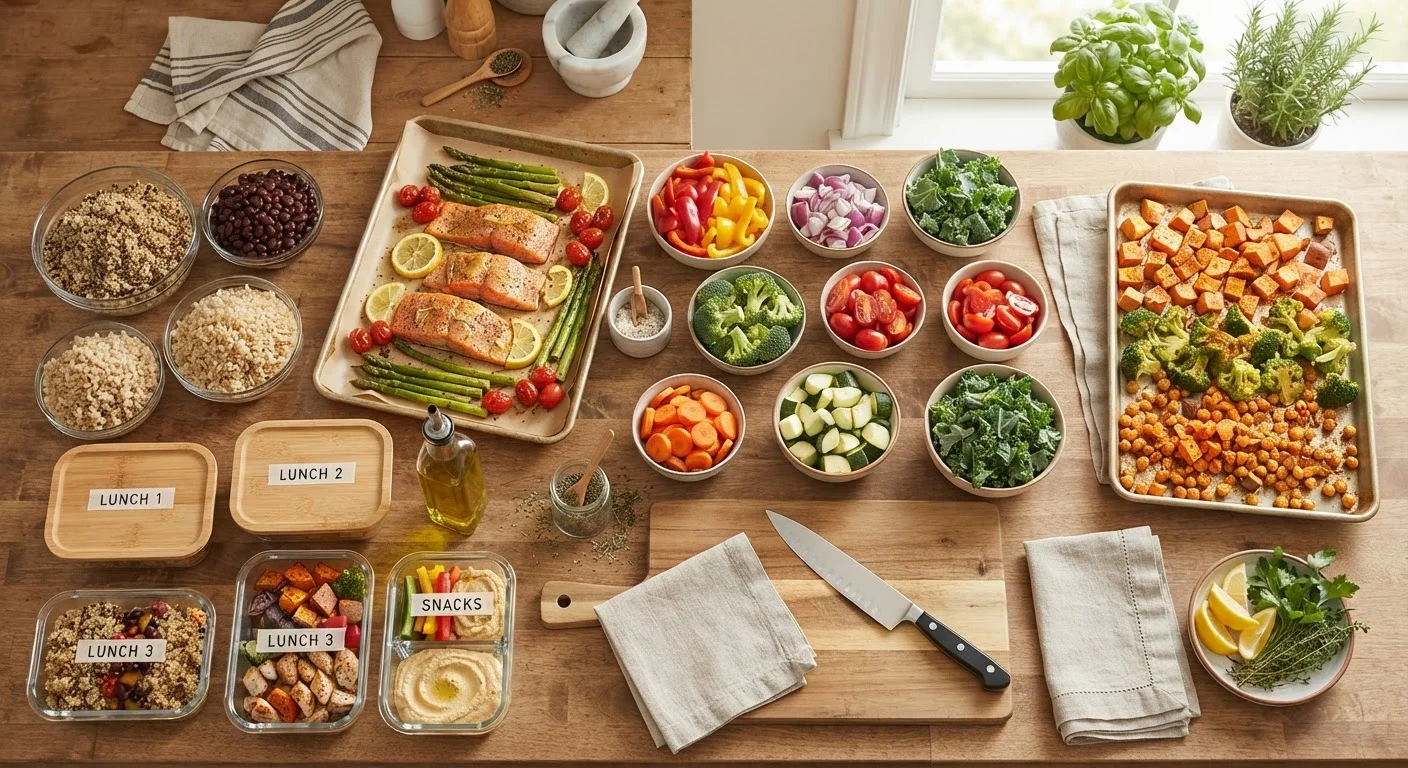
A practical target for one to two people is: two proteins, two grains, three to four vegetables (roasted plus raw), and one sauce or dressing. This mix creates enough combinations to vary lunches and dinners meaningfully across five days without tipping into excessive variety that complicates your shopping list. For guidance on how prep fits into your broader weekly food strategy, see building a realistic prep routine.
Follow the Steps
The steps below walk you through a complete single-session prep from planning through storage. Follow them in order for the first few sessions until the sequence becomes second nature.
What you will need
Sheet pans (half-sheet size)
Roasting large quantities of vegetables and proteins evenly in the oven.
Large stock pot
Boiling grains, legumes, or pasta in bulk without multiple batches.
Airtight glass or BPA-free plastic containers (various sizes)
Storing prepped components safely in the refrigerator for up to five days.
Instant-read food thermometer
Confirming proteins reach safe internal temperatures without overcooking.
Kitchen timer or phone timer
Tracking multiple simultaneous cook times so nothing is missed.
Labeling tape and marker
Marking containers with contents and prep date to track freshness.
Map Your Meals and Identify Shared Ingredients
Before touching a single vegetable, write down every meal you plan to eat this week. Look for ingredients that appear in two or more recipes — a protein, a grain, or a vegetable that pulls double duty is your efficiency multiplier. For example, a batch of cooked farro can serve as a grain bowl base on Tuesday and a warm side salad on Thursday. This overlap strategy is explored in depth in the batch cooking vs. full meal prep guide.
Group your ingredient list into three categories: long-cook (roasted vegetables, whole grains, dried beans), medium-cook (proteins, soups, sauces), and no-cook (raw vegetables, salad greens, dressings). This grouping becomes your session sequence.
Set Up Your Workspace Before You Start Cooking
Pull every ingredient from the refrigerator and pantry and arrange them by cook category. Set out your cutting boards, knives, pots, pans, and storage containers before turning on a single burner. This approach — sometimes called mise en place — is a foundational professional kitchen habit covered in detail in the mise en place guide.
Preheat the oven to the temperature required by your longest-cooking item. While it heats, you can begin washing and roughly chopping vegetables destined for the oven.
Start the Longest-Cook Items First
Load your sheet pans with root vegetables, squash, or whole chicken pieces and slide them into the preheated oven. Simultaneously, bring your stock pot to a boil for grains or legumes. These items typically need 30–60 minutes, and they require almost no attention once started — which frees your hands for the next tasks.
Set timers for everything in the oven and on the stovetop. Do not rely on memory when multiple items are cooking at once.
Prep No-Cook and Medium-Cook Items While the Oven Works
While your roasts and grains cook, use this time productively. Wash and chop raw vegetables for salads and snack portions. Prepare any sauces, dressings, or marinades. If a stovetop protein (like ground turkey or a simple pan sauce) is on your list, cook it now on the second burner.
Work from longest shelf-life to shortest: harder vegetables like carrots and celery hold up longer once cut, so prep those first and save delicate greens for last.
Cool Everything Before Sealing Containers
Once items come off the heat, spread them in a single layer across sheet pans or wide, shallow containers to cool quickly. Do not stack hot food or snap lids on warm containers — trapped steam creates condensation that accelerates spoilage and can compromise food safety.
[important_callout]
Most foods are cool enough to refrigerate within 30–45 minutes when spread in shallow layers. Use this cooling window to wash your pots and pans, which keeps post-session cleanup manageable.
Portion, Label, and Store
Once cooled, portion each component into appropriately sized containers. Store raw and cooked items on separate refrigerator shelves to prevent cross-contamination. Label each container with the contents and the prep date using tape and a marker.
Keep dressings, sauces, and toppings in separate small containers and add them at serving time. For a complete system covering portioning and storage best practices, the Weekly Meal Prep Playbook is a useful companion resource.