

Key Takeaways
Why Searing Goes Wrong — and What's Actually Happening
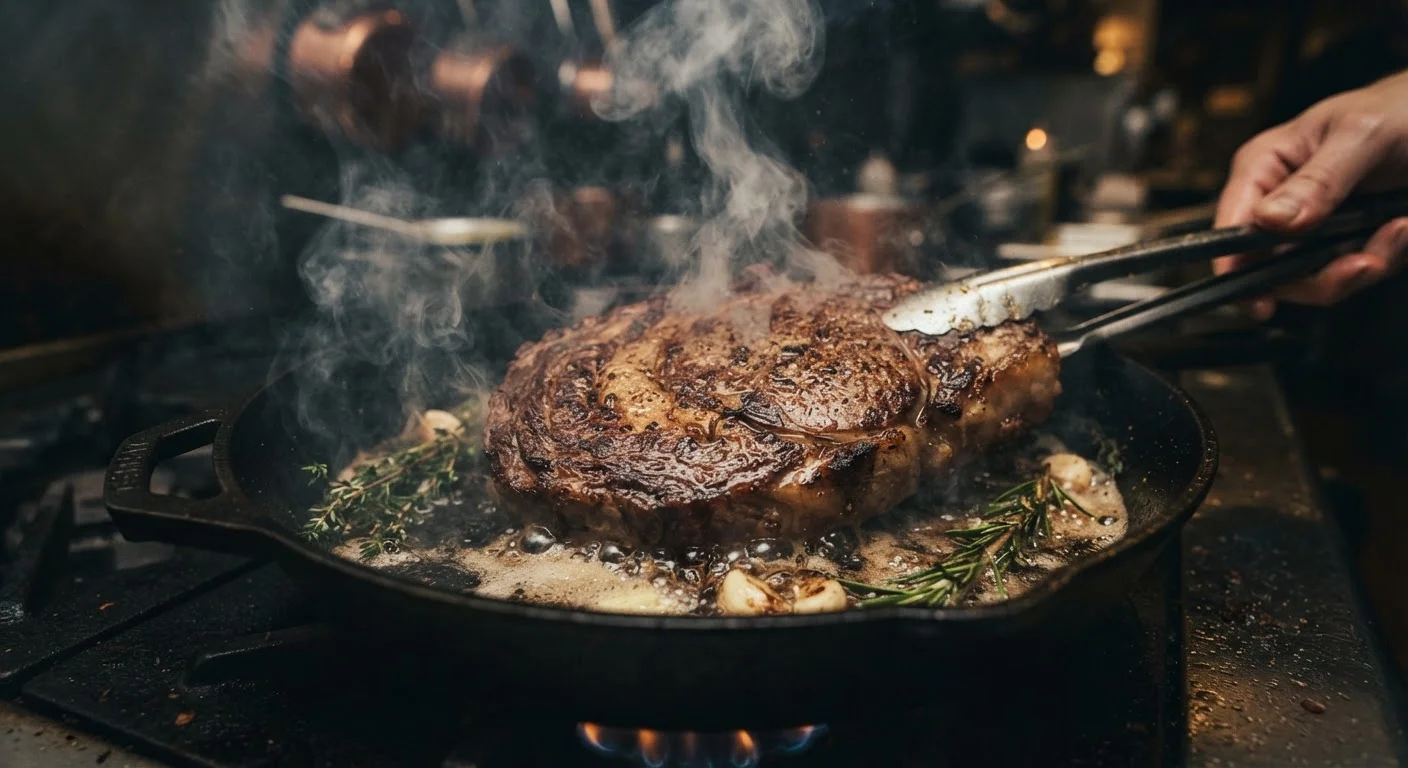
A proper sear produces that deep, mahogany-brown crust that concentrates flavour and adds textural contrast to cooked meat. The mechanism behind it is called the Maillard reaction — a chemical process in which proteins and sugars on the meat's surface transform under high, dry heat into hundreds of new flavour compounds. To understand why fat, heat, and dryness each matter so much, see our article on what fat and heat actually do to food.
The reaction requires surface temperatures above roughly 280°F (140°C). Water boils at 212°F (100°C) — so any moisture present on the meat's surface stalls the temperature at that ceiling, creating steam instead of browning. This is the single most common reason home cooks end up with grey, steamed meat instead of a seared crust.
Steam Is the Enemy of a Good Crust
Moisture on the meat's surface converts to steam instantly when it hits a hot pan, lowering the local temperature and preventing browning. This is why patting the meat completely dry — not just partially — is the most important single preparation step. Even condensation from a refrigerator can be enough to stall the Maillard reaction.
The fix isn't complicated, but it requires attention at three specific moments: before the pan heats, before the oil goes in, and before the meat goes in. Each step builds on the last.
What You'll Need Before You Start
Good results begin with good setup. If you want to build this into a broader kitchen habit, the professional concept of mise en place — having everything prepped and in position before heat is involved — applies directly here.
What you will need
Cast iron skillet
Retains and distributes heat evenly, making it ideal for maintaining searing temperatures when cold meat is added.
Stainless steel skillet
A good alternative to cast iron — heats quickly and handles high temperatures without damage.
High smoke-point neutral oil
Provides a stable fat layer between meat and pan that can sustain searing temperatures without burning.
Tongs
Allow safe flipping and repositioning of meat without piercing the surface and releasing juices.
Wire rack
Used for air-drying the meat surface in the refrigerator before cooking to improve crust formation.
Splatter screen
Placed over the pan to reduce hot oil splatter while still allowing steam to escape during searing.
Steps to a Proper Sear
Dry the meat thoroughly
Remove the meat from the refrigerator and pat every surface completely dry with paper towels. Pay close attention to crevices and any marbled areas where moisture can pool. Even a small amount of surface liquid will generate steam the moment it hits the pan, delaying browning significantly.
For best results, place the meat uncovered on a wire rack in the refrigerator for at least one hour — or overnight — before cooking. This air-drying step makes a measurable difference in crust quality.
Let the meat approach room temperature
Place the dried, seasoned meat on a plate and let it rest at room temperature for 20 to 30 minutes before cooking. A very cold piece of meat chills the pan surface on contact, lowering the temperature below the Maillard threshold and causing uneven cooking.
This step is particularly important for thick cuts where the temperature differential between surface and centre is already large.
Choose and preheat the right pan
Place your pan — cast iron or heavy stainless steel preferred — on the burner over medium-high heat. Allow it to preheat with nothing in it for 2 to 3 minutes. You are heating the metal itself, not just the cooking surface. Cast iron in particular takes longer to heat through but retains that heat when cold meat is added.
To test readiness, hold your hand a few inches above the surface — it should feel intensely hot. Alternatively, a drop of water should immediately bead and evaporate within a second or two.
Add oil and let it heat
Add a small amount of a high smoke-point oil — such as refined avocado oil, grapeseed oil, or refined vegetable oil — and swirl to coat the base of the pan. The oil needs to heat for 30 to 60 seconds until it begins to shimmer visibly and flows very easily across the pan surface.
Do not add the meat while the oil looks thick or still. Shimmering oil indicates it has reached a temperature capable of sustaining the sear.
Place the meat and leave it alone
Lay the meat gently away from you into the pan — this prevents hot oil from splashing toward you. Press it lightly and flat to ensure full contact with the surface. Then step back and do not move it.
Resist any urge to lift, shift, or press the meat during the first few minutes. Moving it interrupts the crust formation. Allow it to cook undisturbed for 2 to 4 minutes depending on thickness, until the crust releases cleanly on its own.
What to Watch For and How to Adjust
Even with everything done correctly, pan searing has variables. Thickness of the cut, starting temperature of the meat, and your specific burner's output all affect timing. The sensory signals matter more than the clock.
- Smoke is expected — a thin haze is normal at searing temperatures. Heavy billowing black smoke means the oil has burned; reduce heat slightly and ensure the pan isn't left unattended.
- Sticking means the crust isn't ready — if the meat resists when you try to lift it, give it another 30–60 seconds. A proper crust releases cleanly.
- Pale patches mean moisture or crowding — if part of the surface won't brown, the pan temperature dropped. Remove one piece, let the pan recover, then continue.
Developing this kind of in-the-moment observation is the same skill covered in tasting as you cook — reading what the pan is telling you rather than relying on timers alone.